How to Integrate the Schedule into Your Webnode Website
The integration takes no more than 5 minutes and requires no technical expertise.
If you're using a different content management system, you can still integrate. Check out our tutorials for embedding a schedule into a site with WordPress, Wix.com, or use JavaScript for a custom solution.
Steps in Zenamu Administration
1. Copy the Code from Your Zenamu Account

- Log in to Zenamu, then navigate to Settings > Public Schedule > Integration with your website and copy the provided code.
Steps in Webnode Administration
- Log in to your Webnode account at Webnode.
- Click on Pages in the top menu.
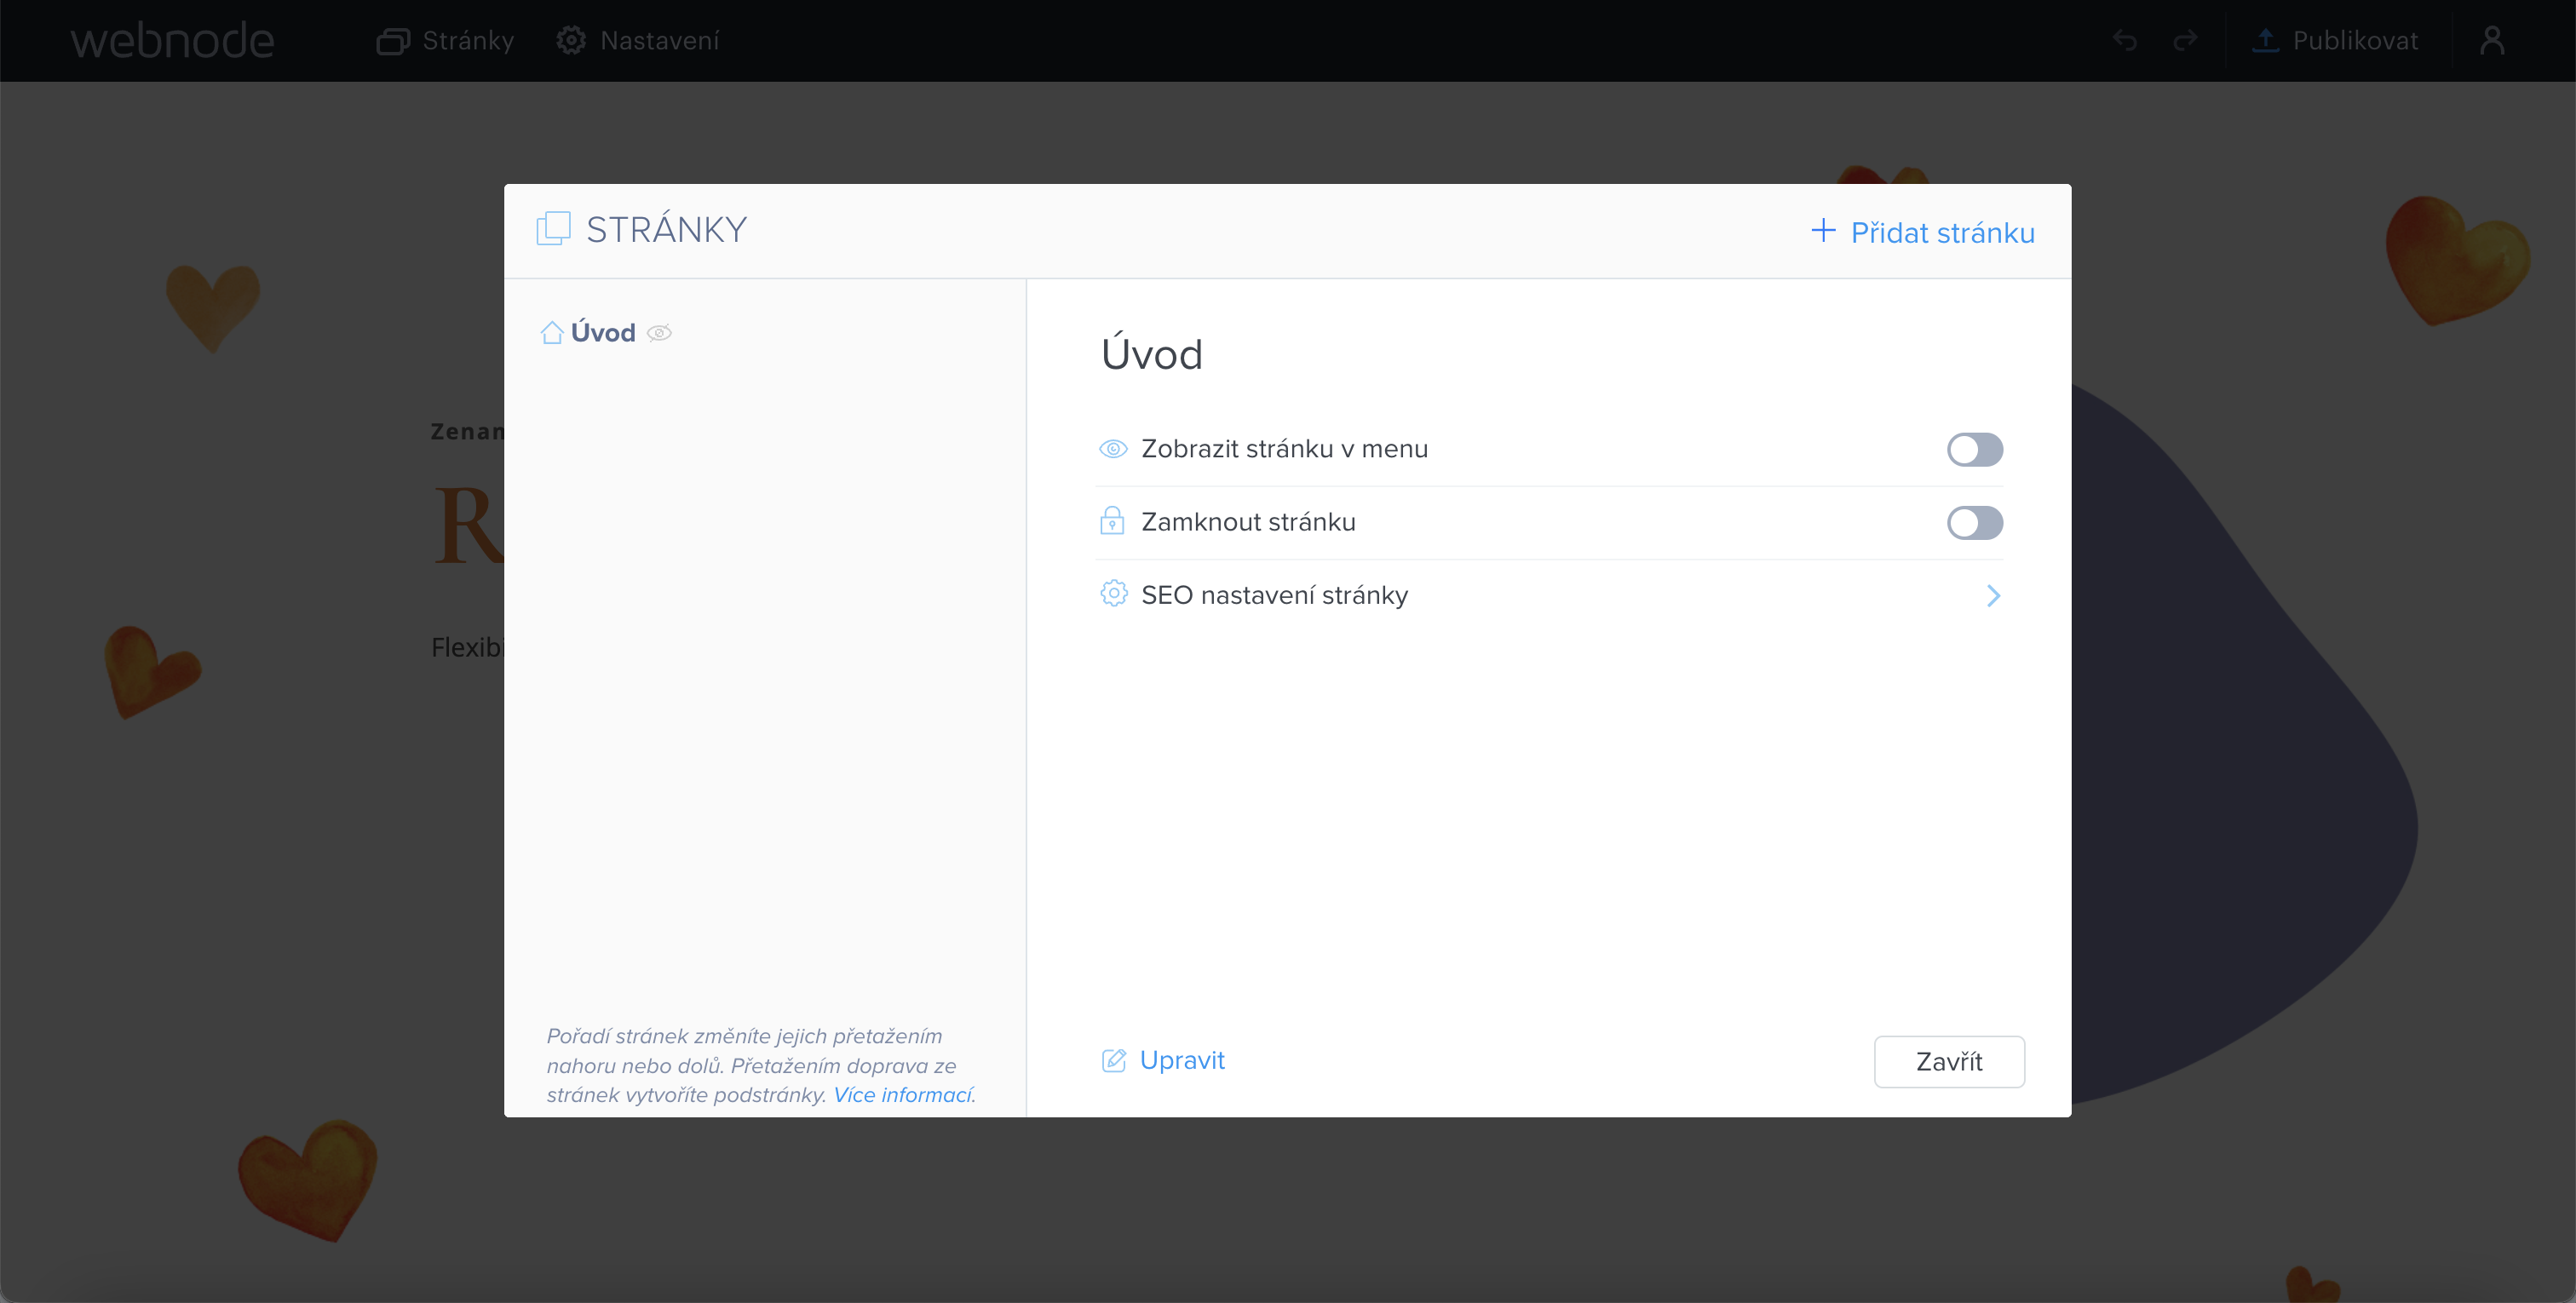
- Select the page where you want to insert the timetable and click Edit. Alternatively, you can create a new page by selecting the + Add page option.
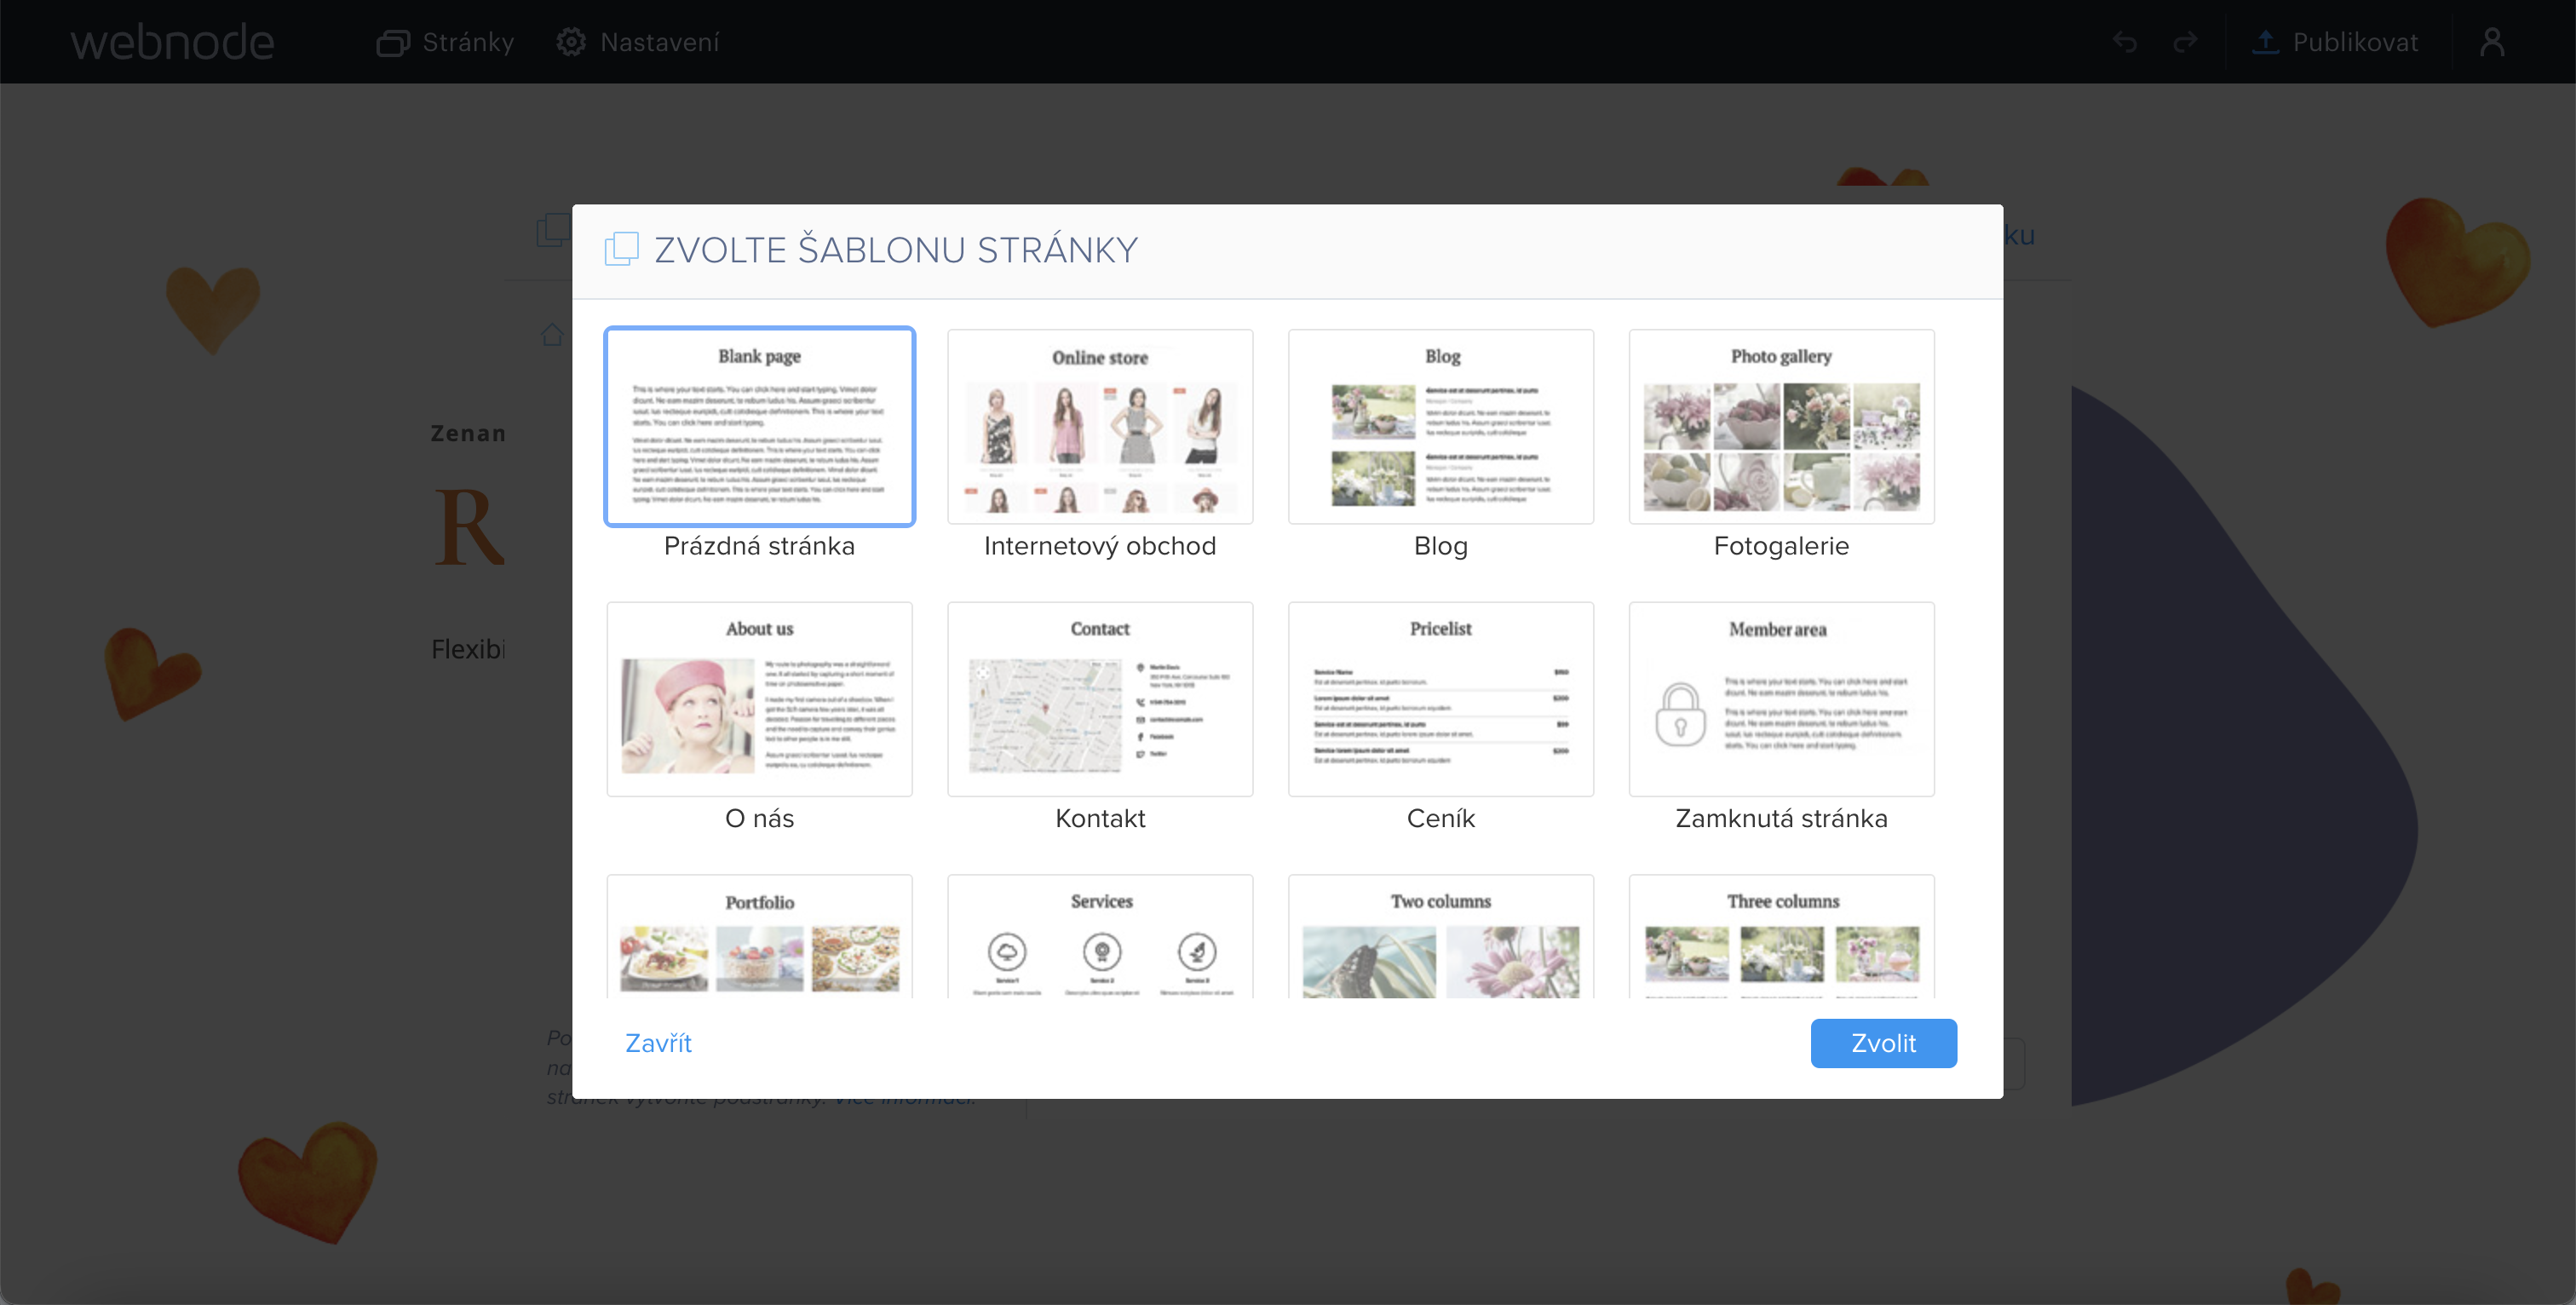
- If you choose to add a new page, select any template you like. We recommend using the Blank Page template:
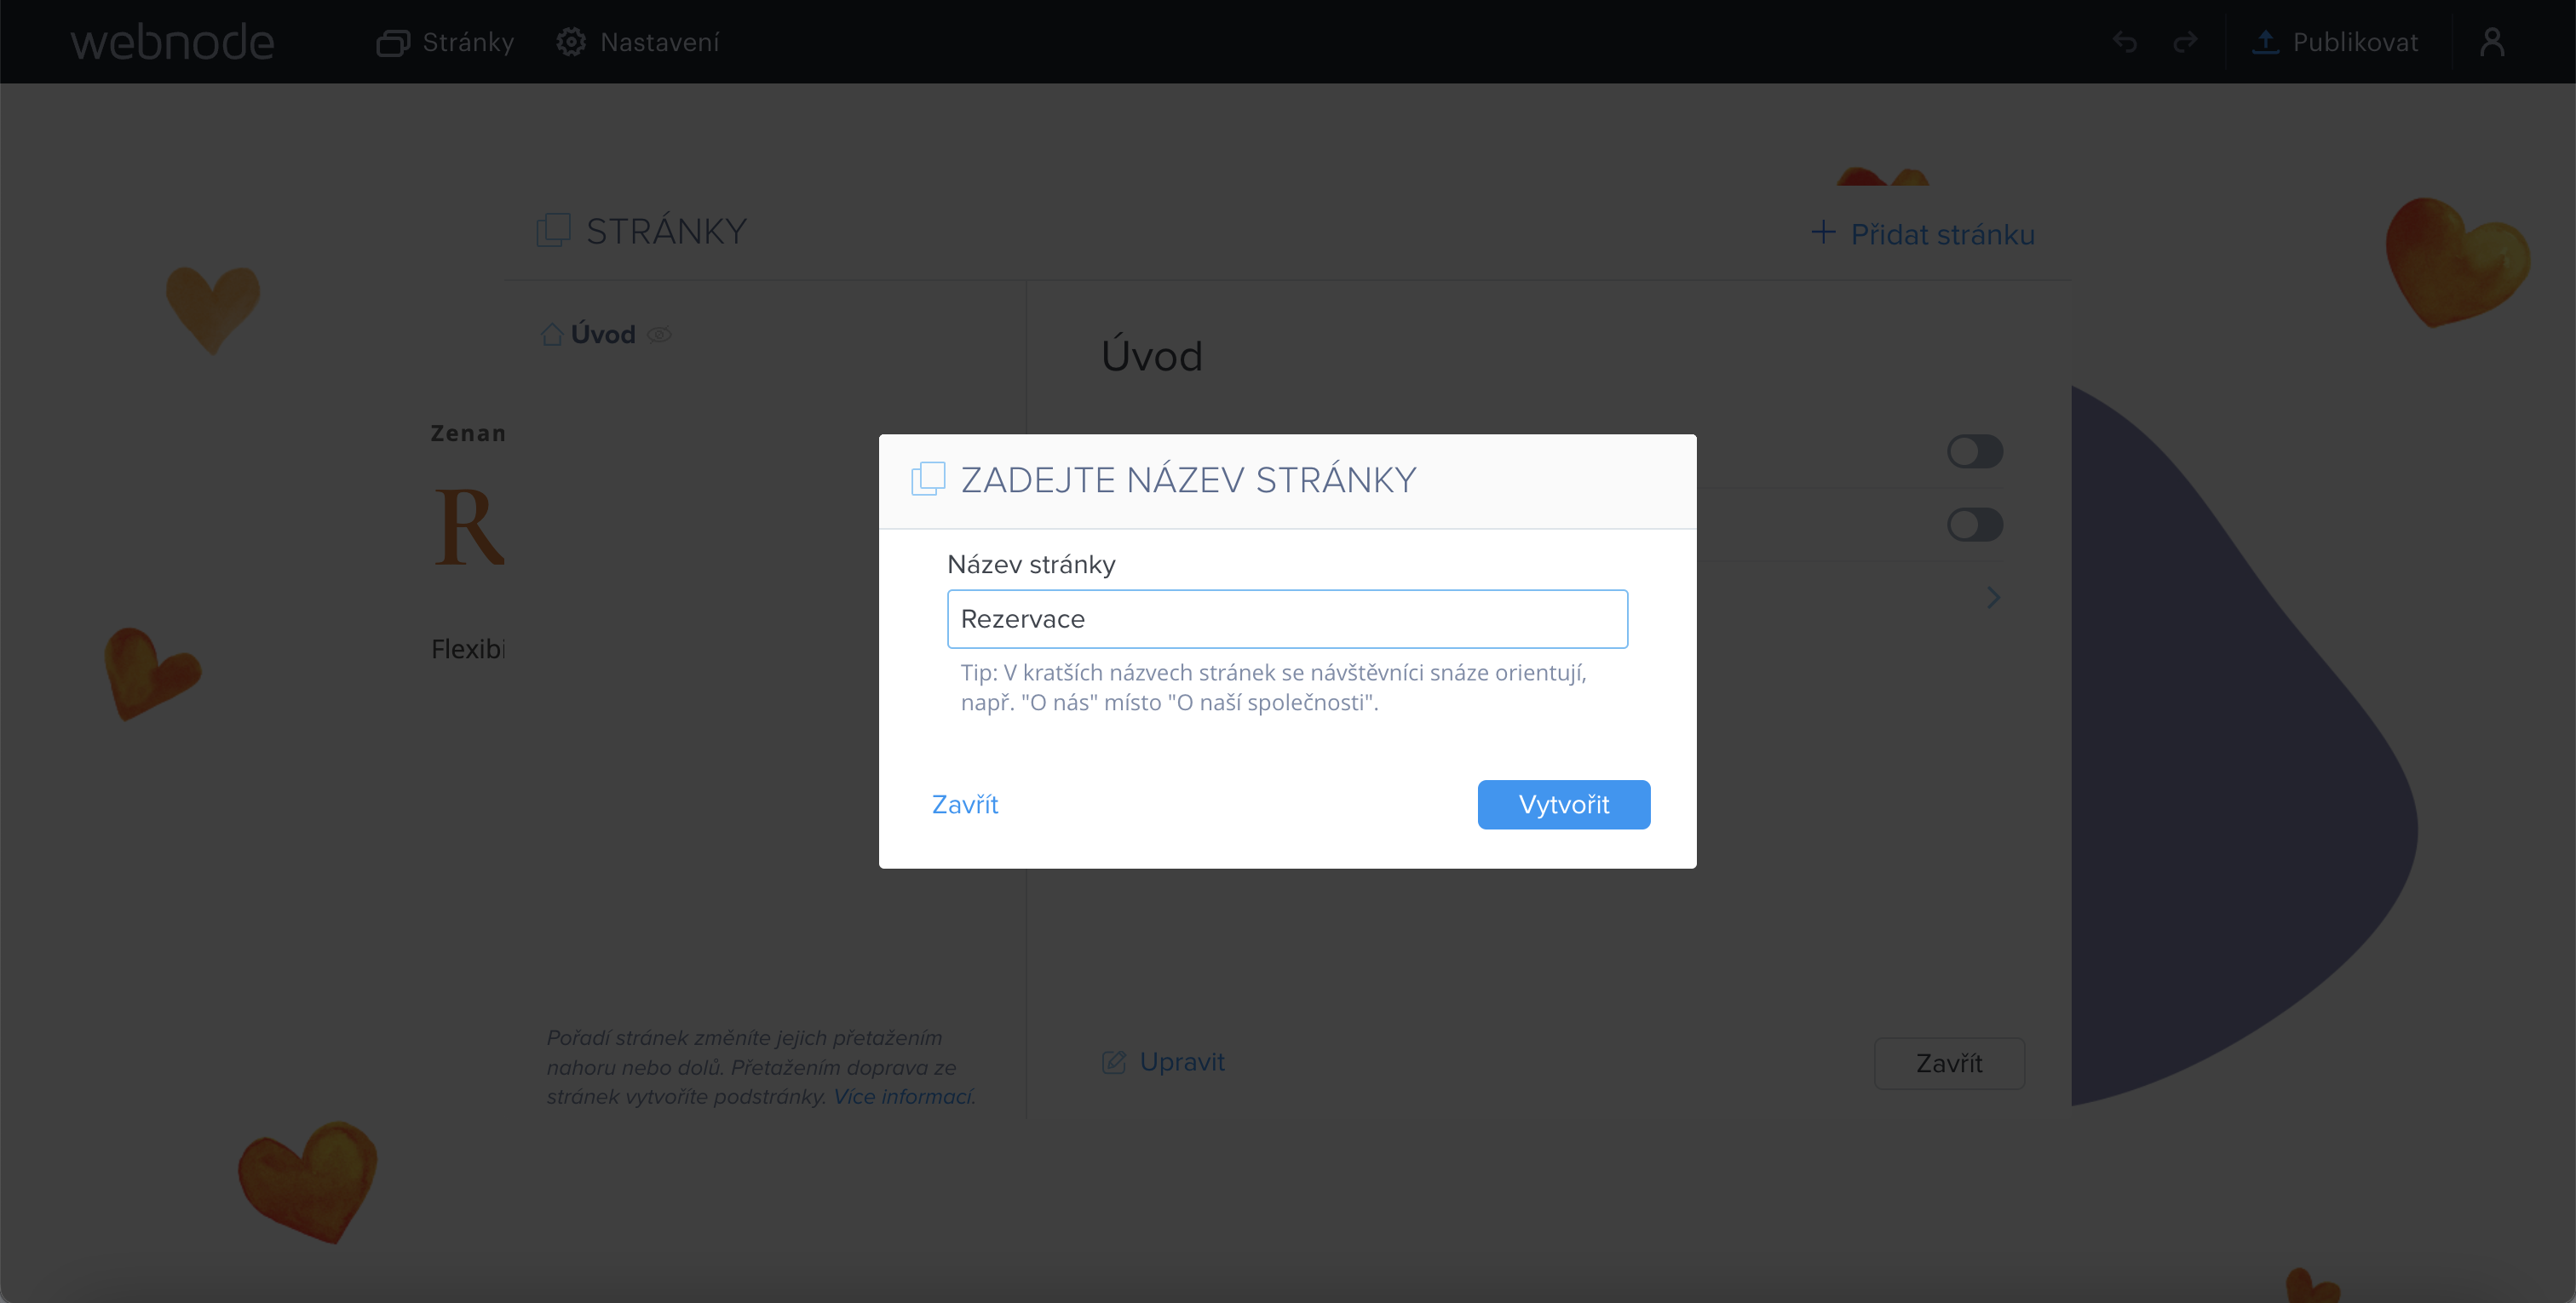
- Name the page, for example, Booking.
2. Insert the Code into the Page in Webnode
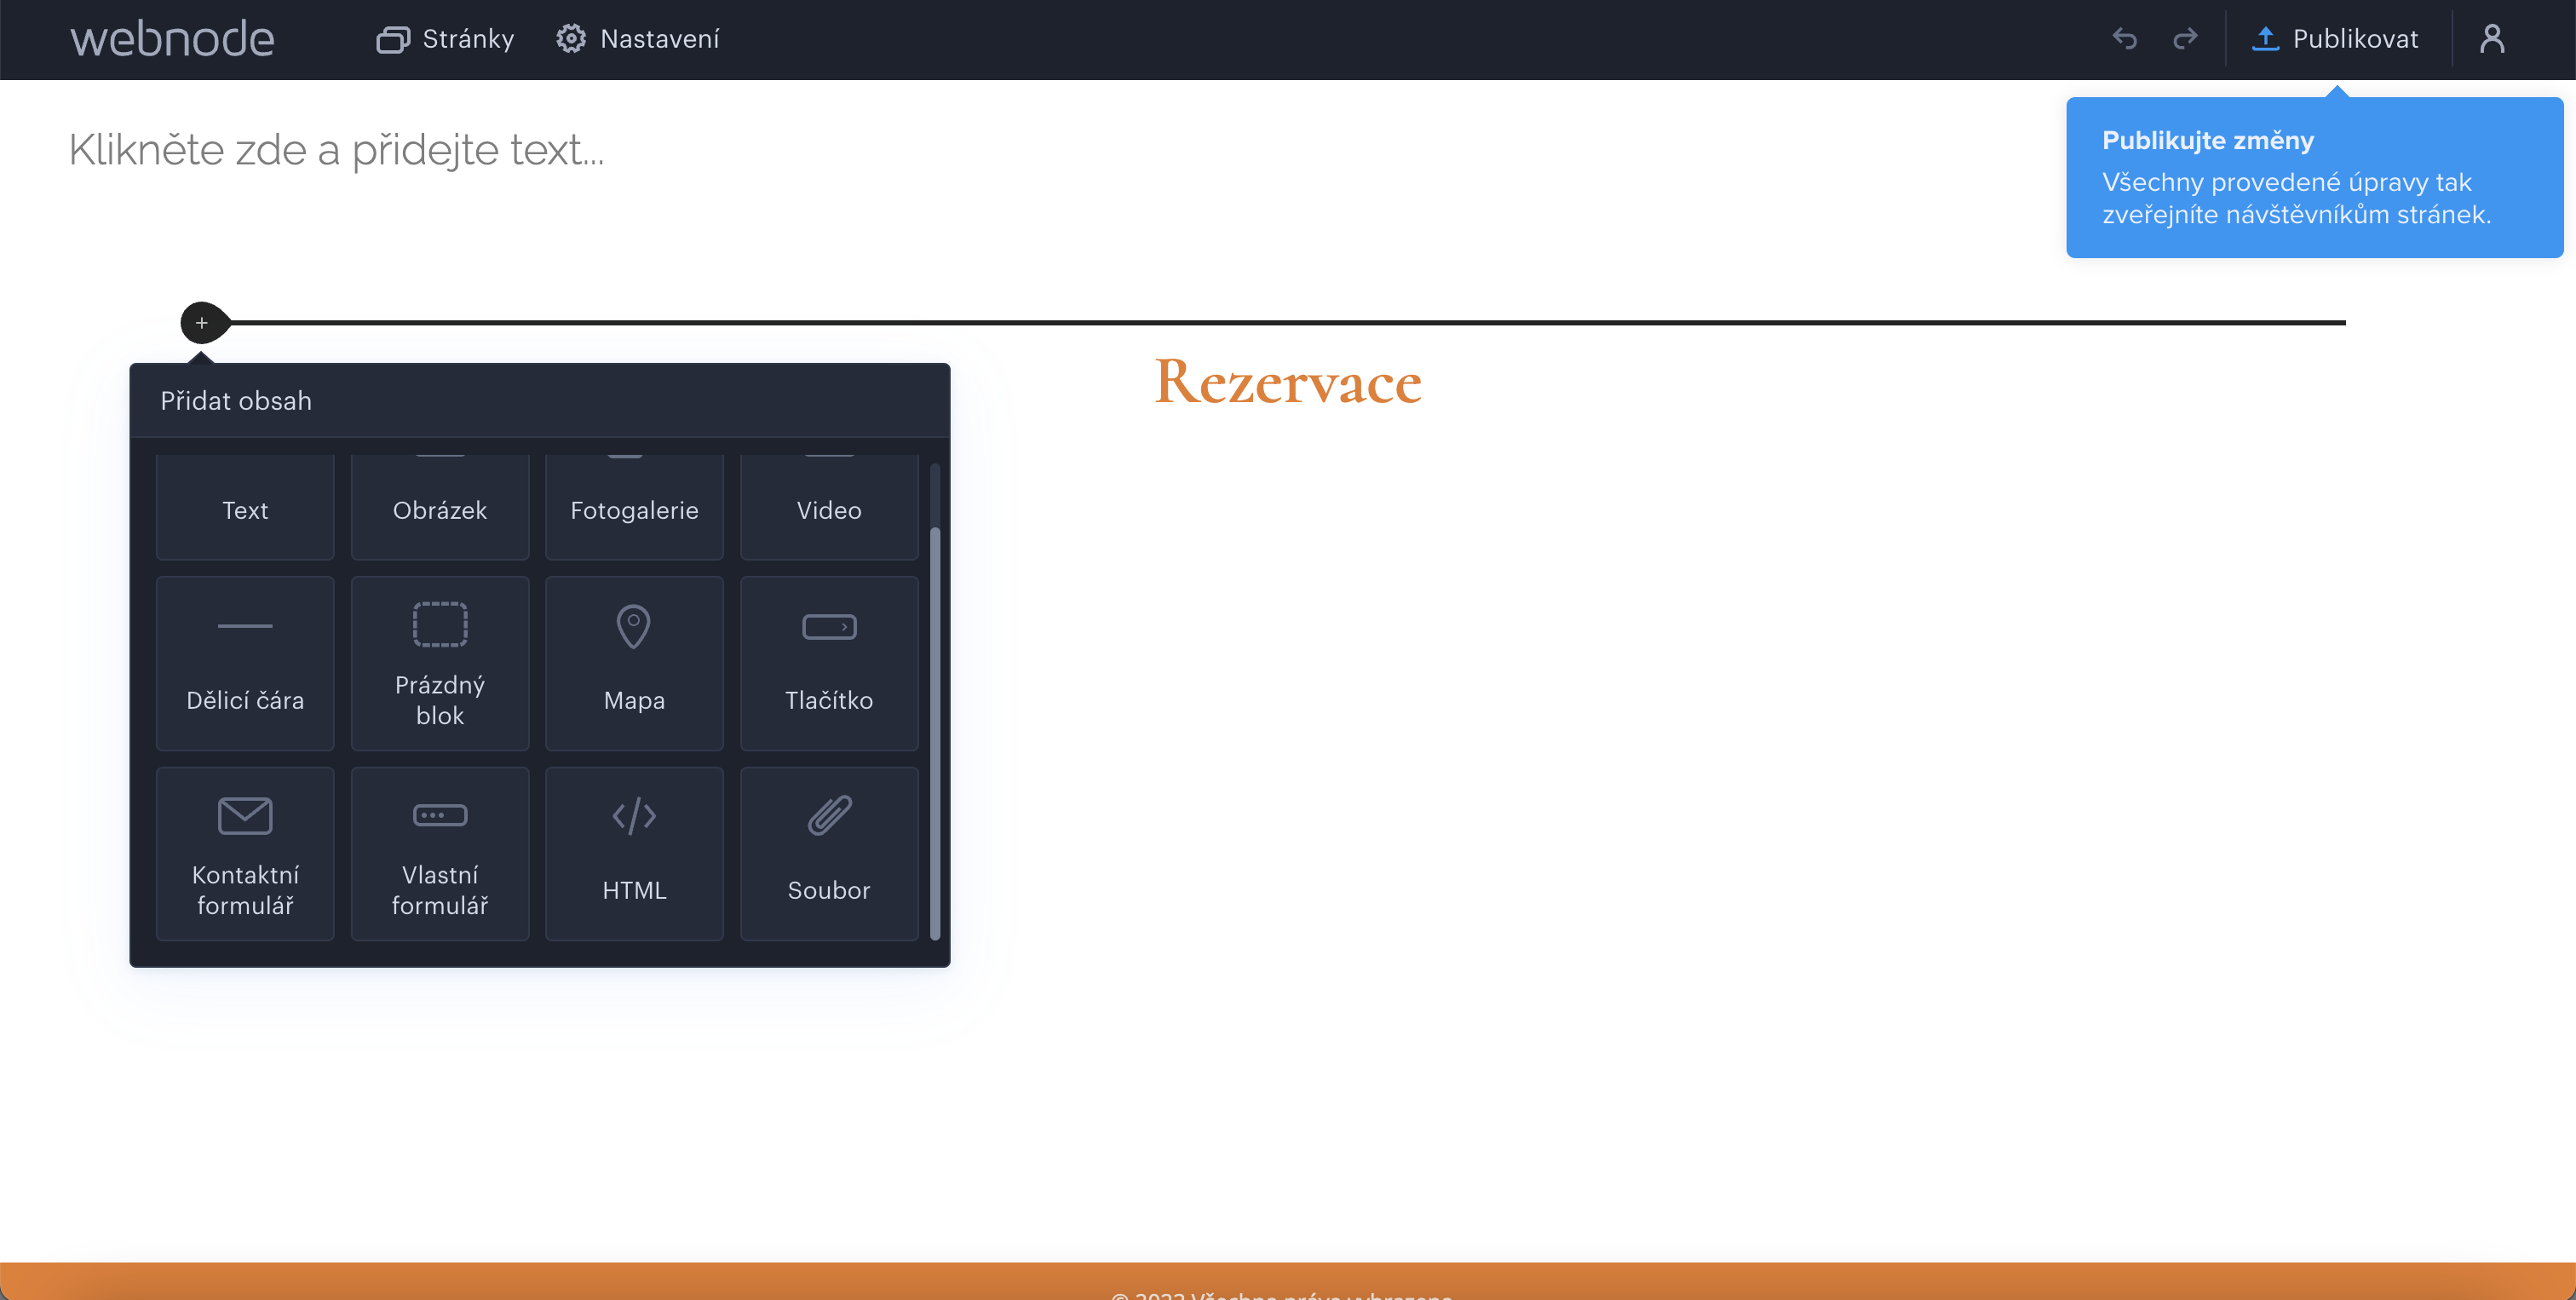
- Hover over the content section to reveal the plus button for adding a new content block. This button looks like a "droplet" 🙂.
- Select HTML from the content menu.
- Paste the HTML code you copied earlier (Copy the code from your Zenamu account administration).

- Click OK. The editor will only show information about the inserted code, but the widget will appear in the published version.

- Publish your changes.
3. Done!
The schedule on your website will look similar to this 😏.