How to Create an Online Class in Zenamu
Creating online classes with Zenamu is a great way to offer flexibility to your clients, allowing them to attend from the comfort of their homes. Follow this step-by-step guide to set up your online classes.
Accepting Payments for Online Classes
You can accept payments for online classes in several ways:
- Credit Card Payments: Set up card payments.
- Credits or Entries: Manage credits and tickets.
- Bank Transfer: Set up bank transfer payments. This option is optional if you prefer manual verification.
Creating an Online Class
Before creating an online class, ensure that you have configured your payment settings, bank transfer settings, or have a credit pack or entry pass system active.
Steps to Create an Online Class
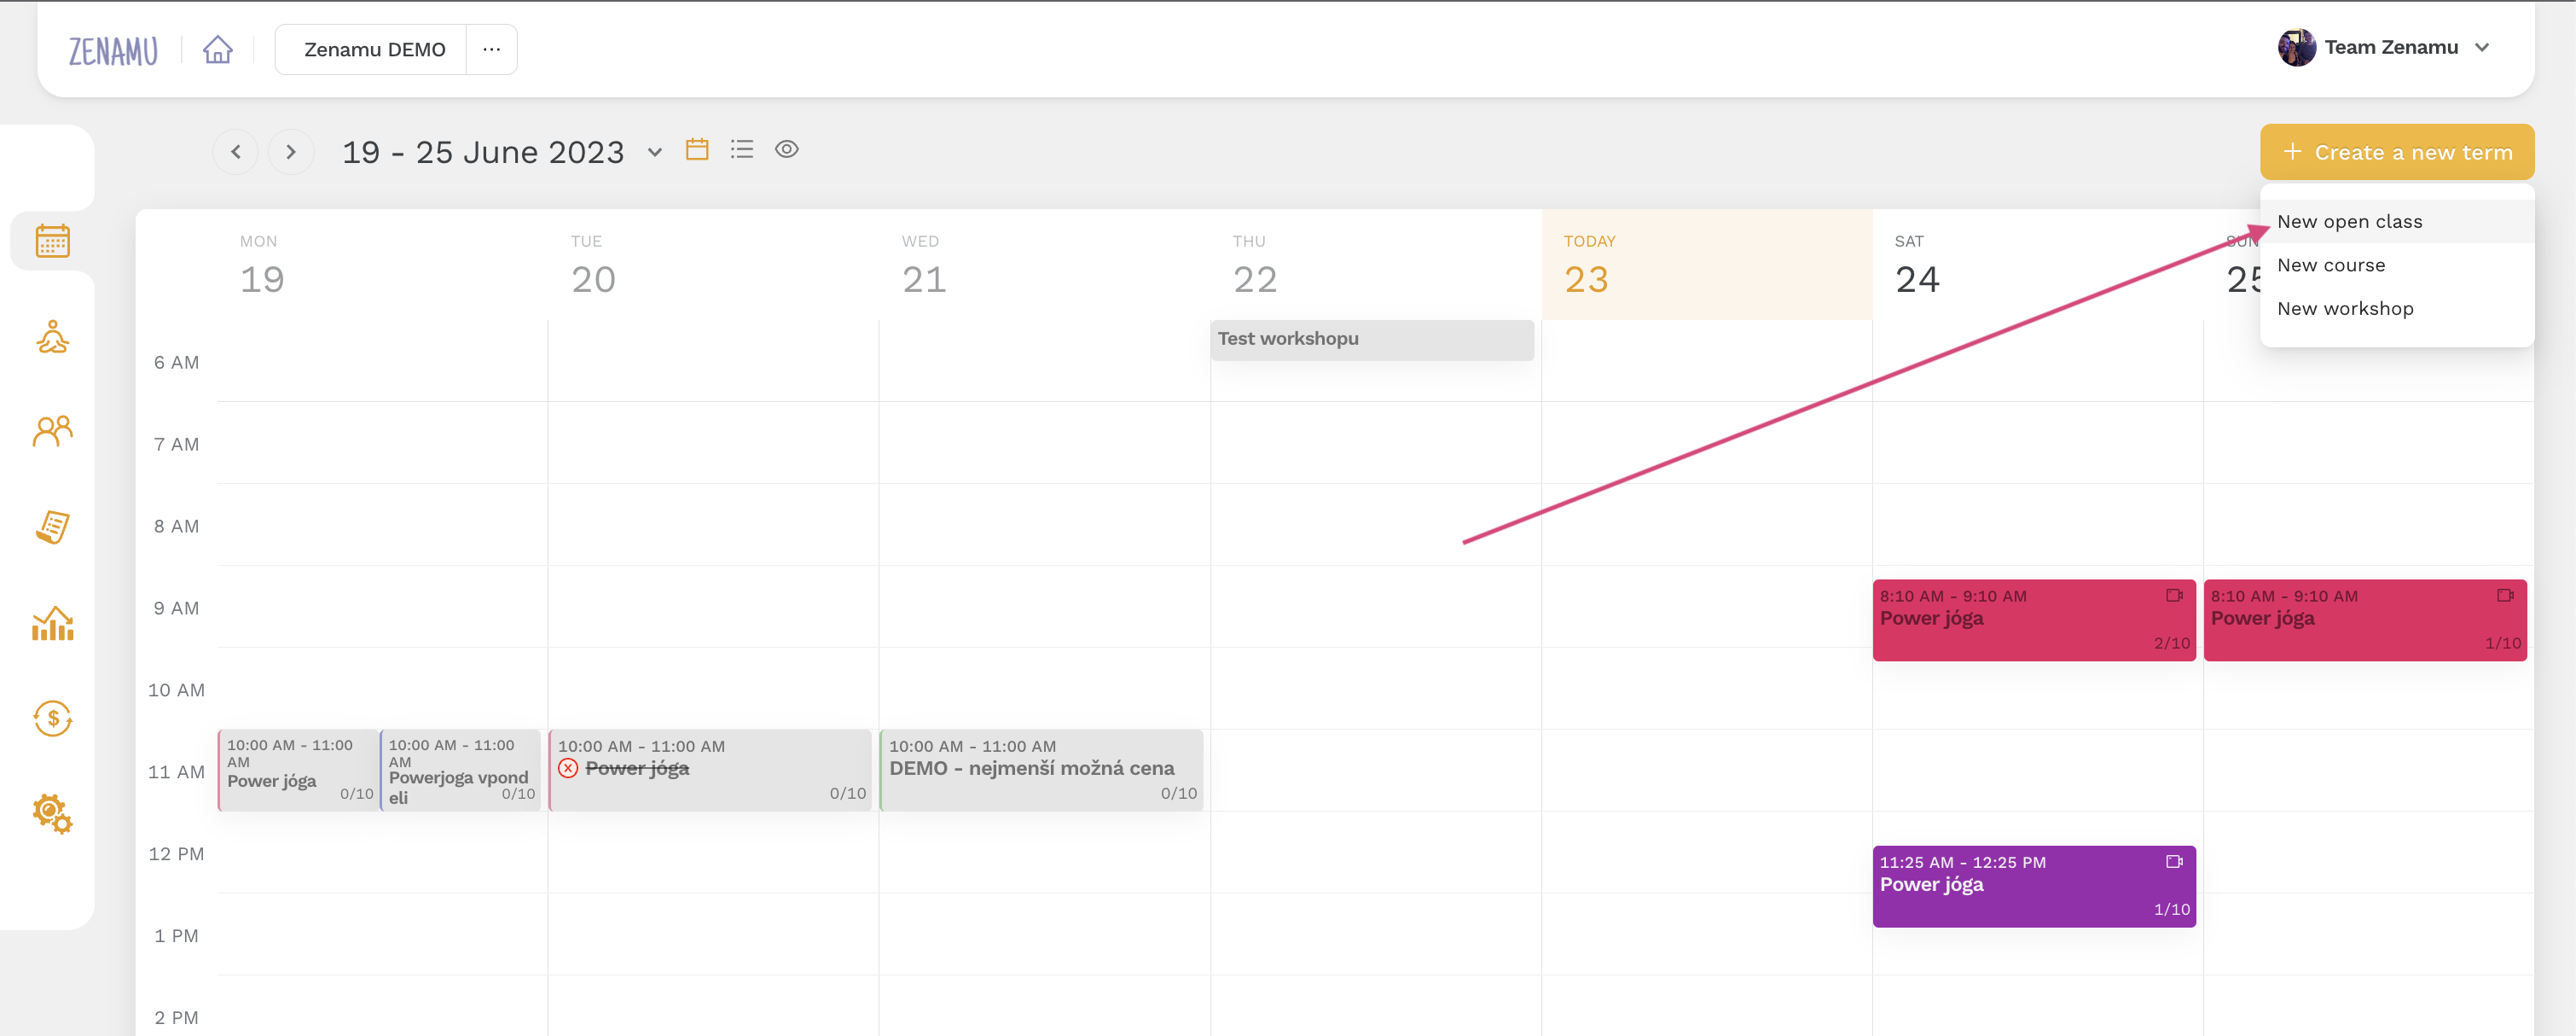
- Start by Creating a New Class: Click on the "New open class" button.
- Enter Class Details: If you don’t have class templates, enter the required details such as class name, date, time, description, and duration. For the class format, select Online.
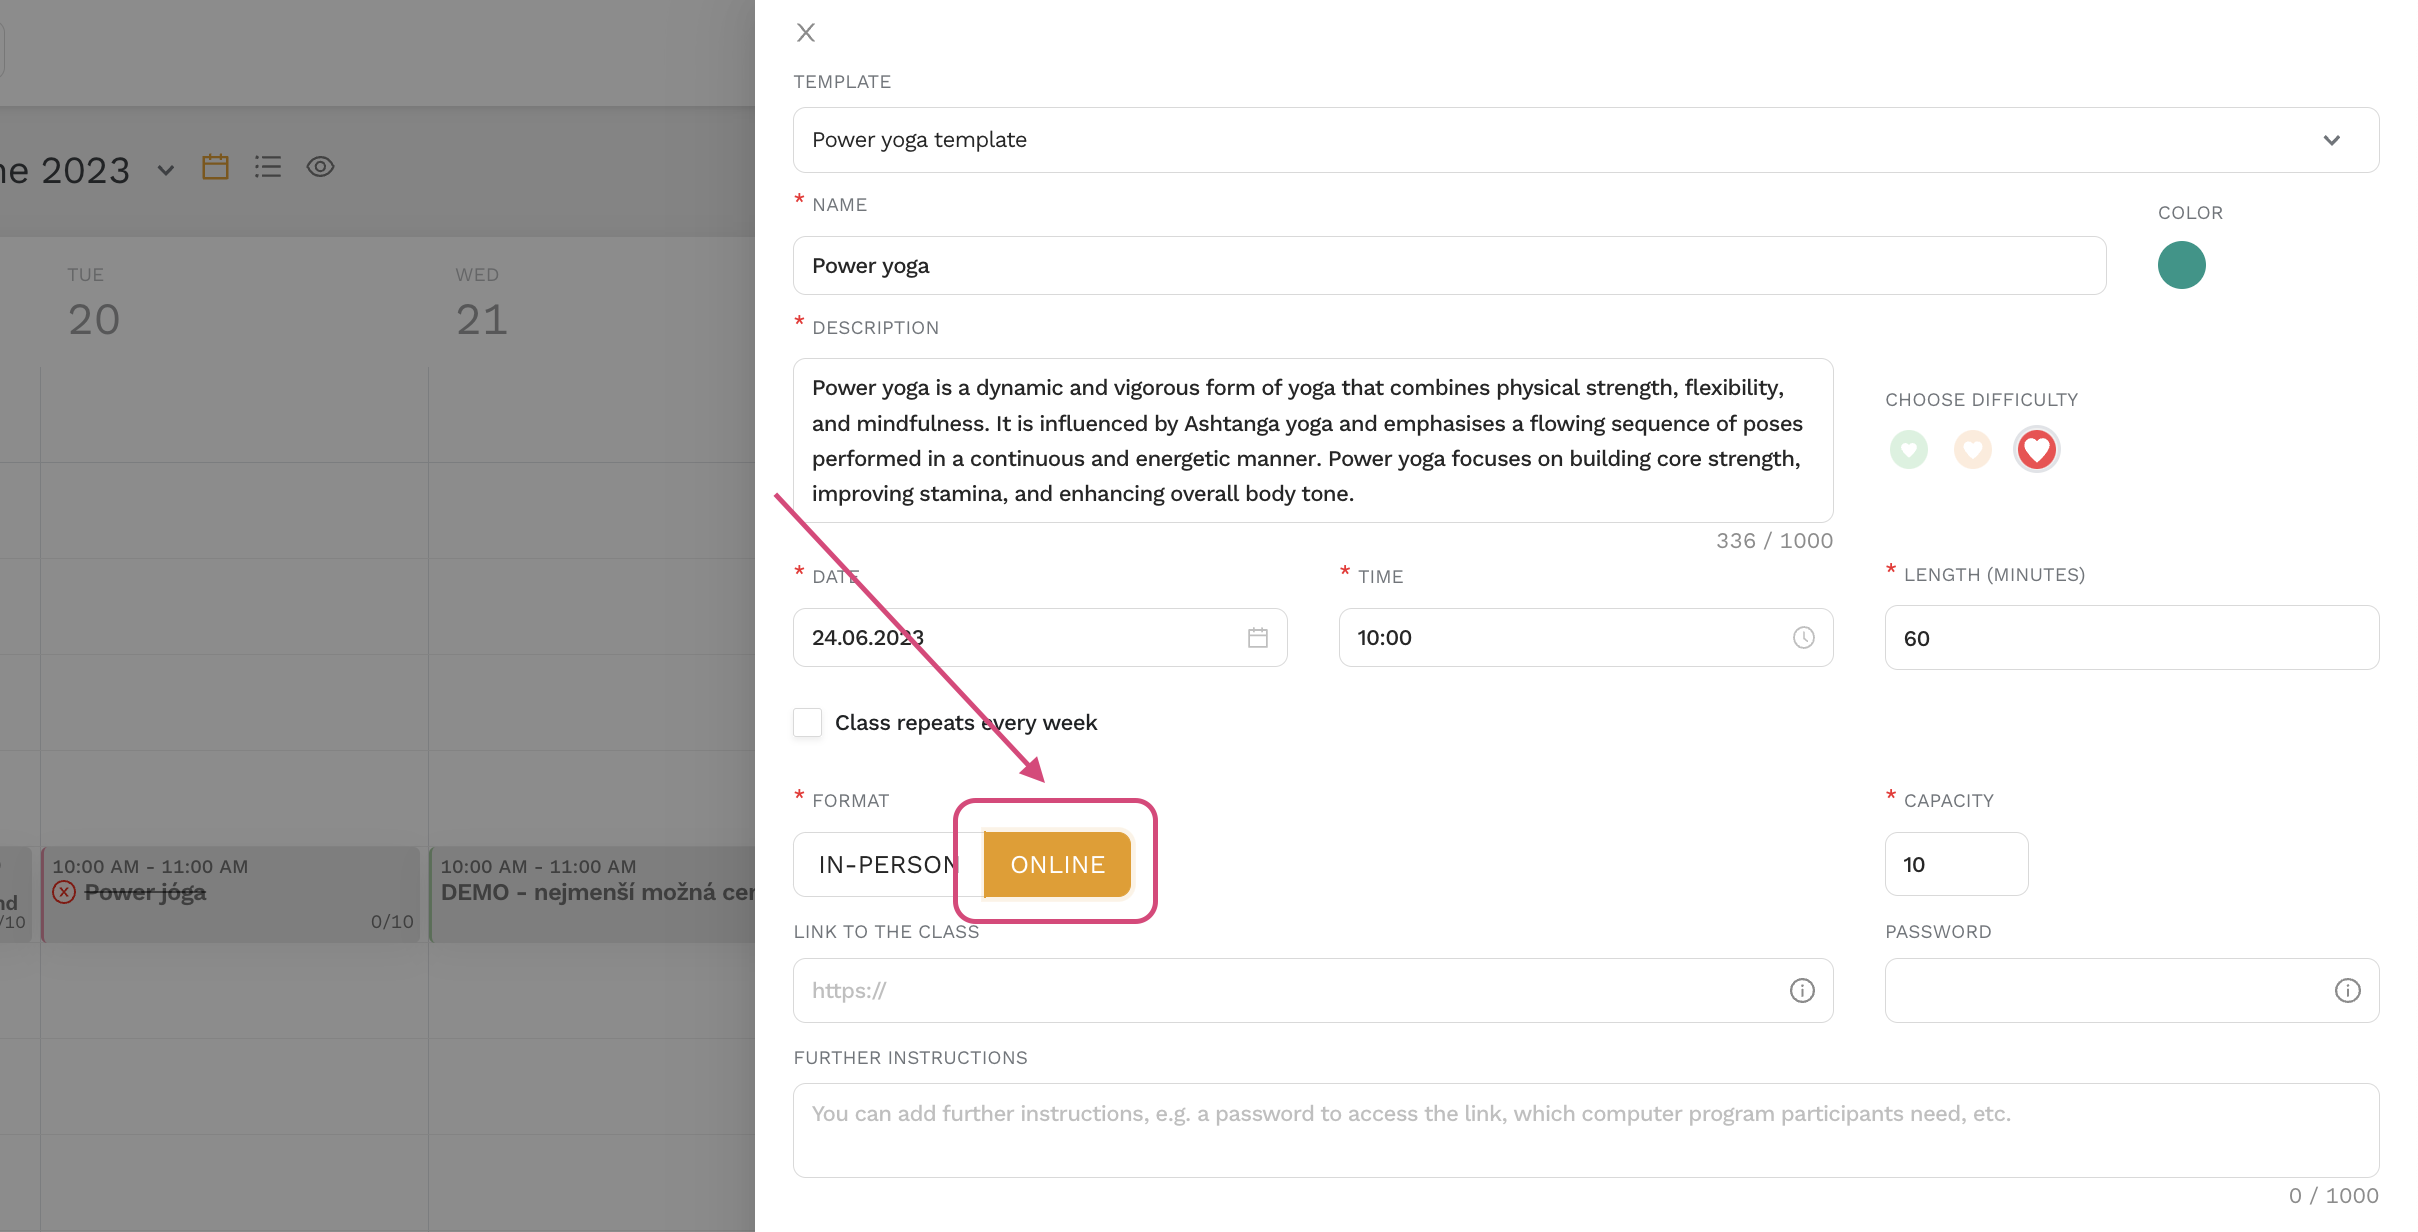
- Add Class Link and Instructions: If you have the online meeting link ready (e.g., Zoom, Google Meet), paste it into the appropriate field. You can also include additional instructions and a password if needed. Fill in other required details and publish the class.

TIP 🌸 Zenamu does not support hybrid classes directly. However, you can create two classes: one physical and one online. They will appear side-by-side on the calendar, allowing participants to choose their preferred format.
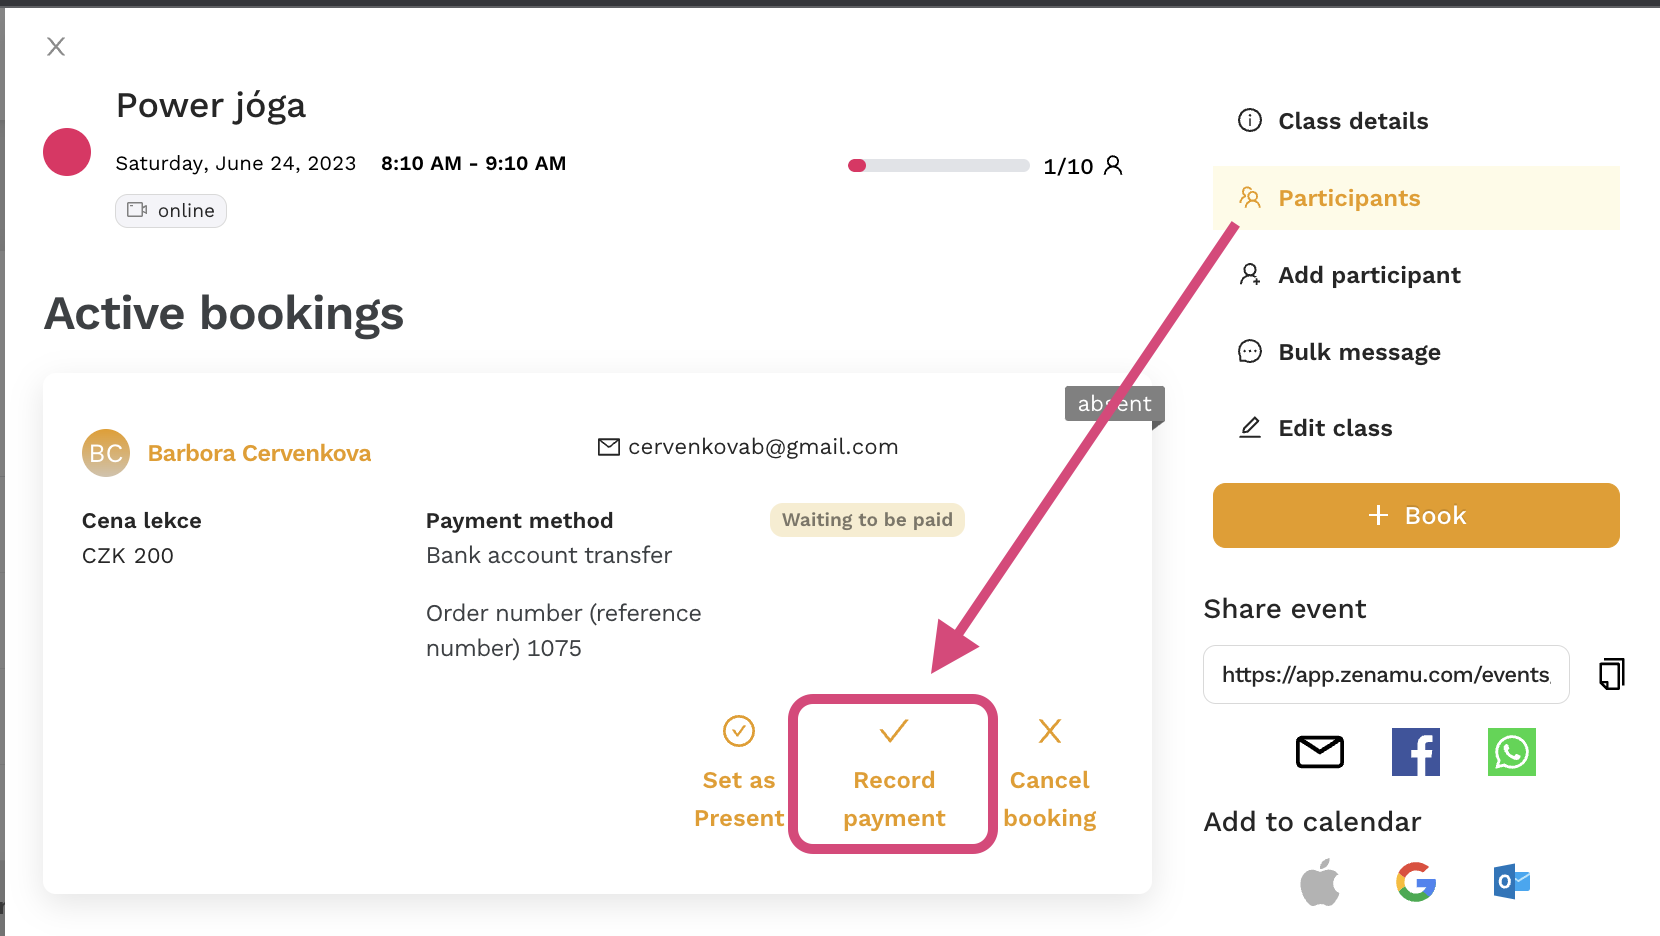
- Managing Booking and Payments:
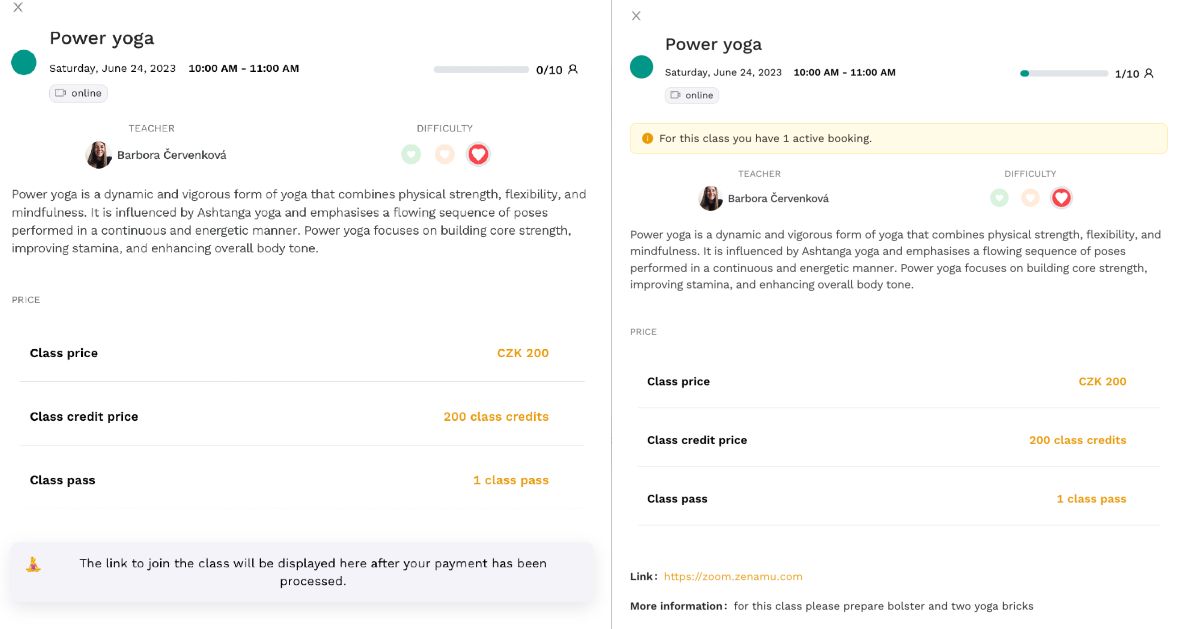
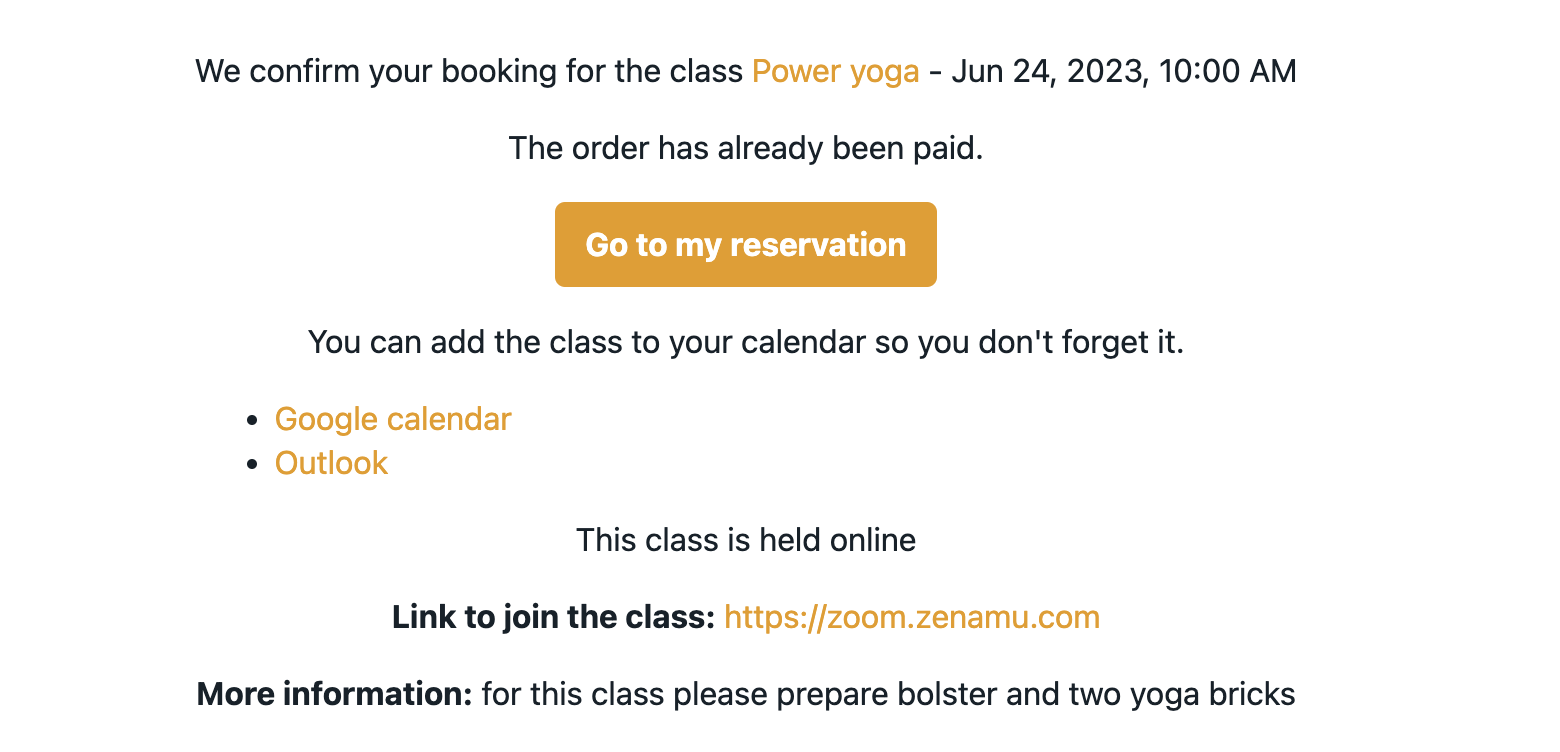
- Once a participant books the class, they will see the class details, including the link, only after their payment is confirmed.
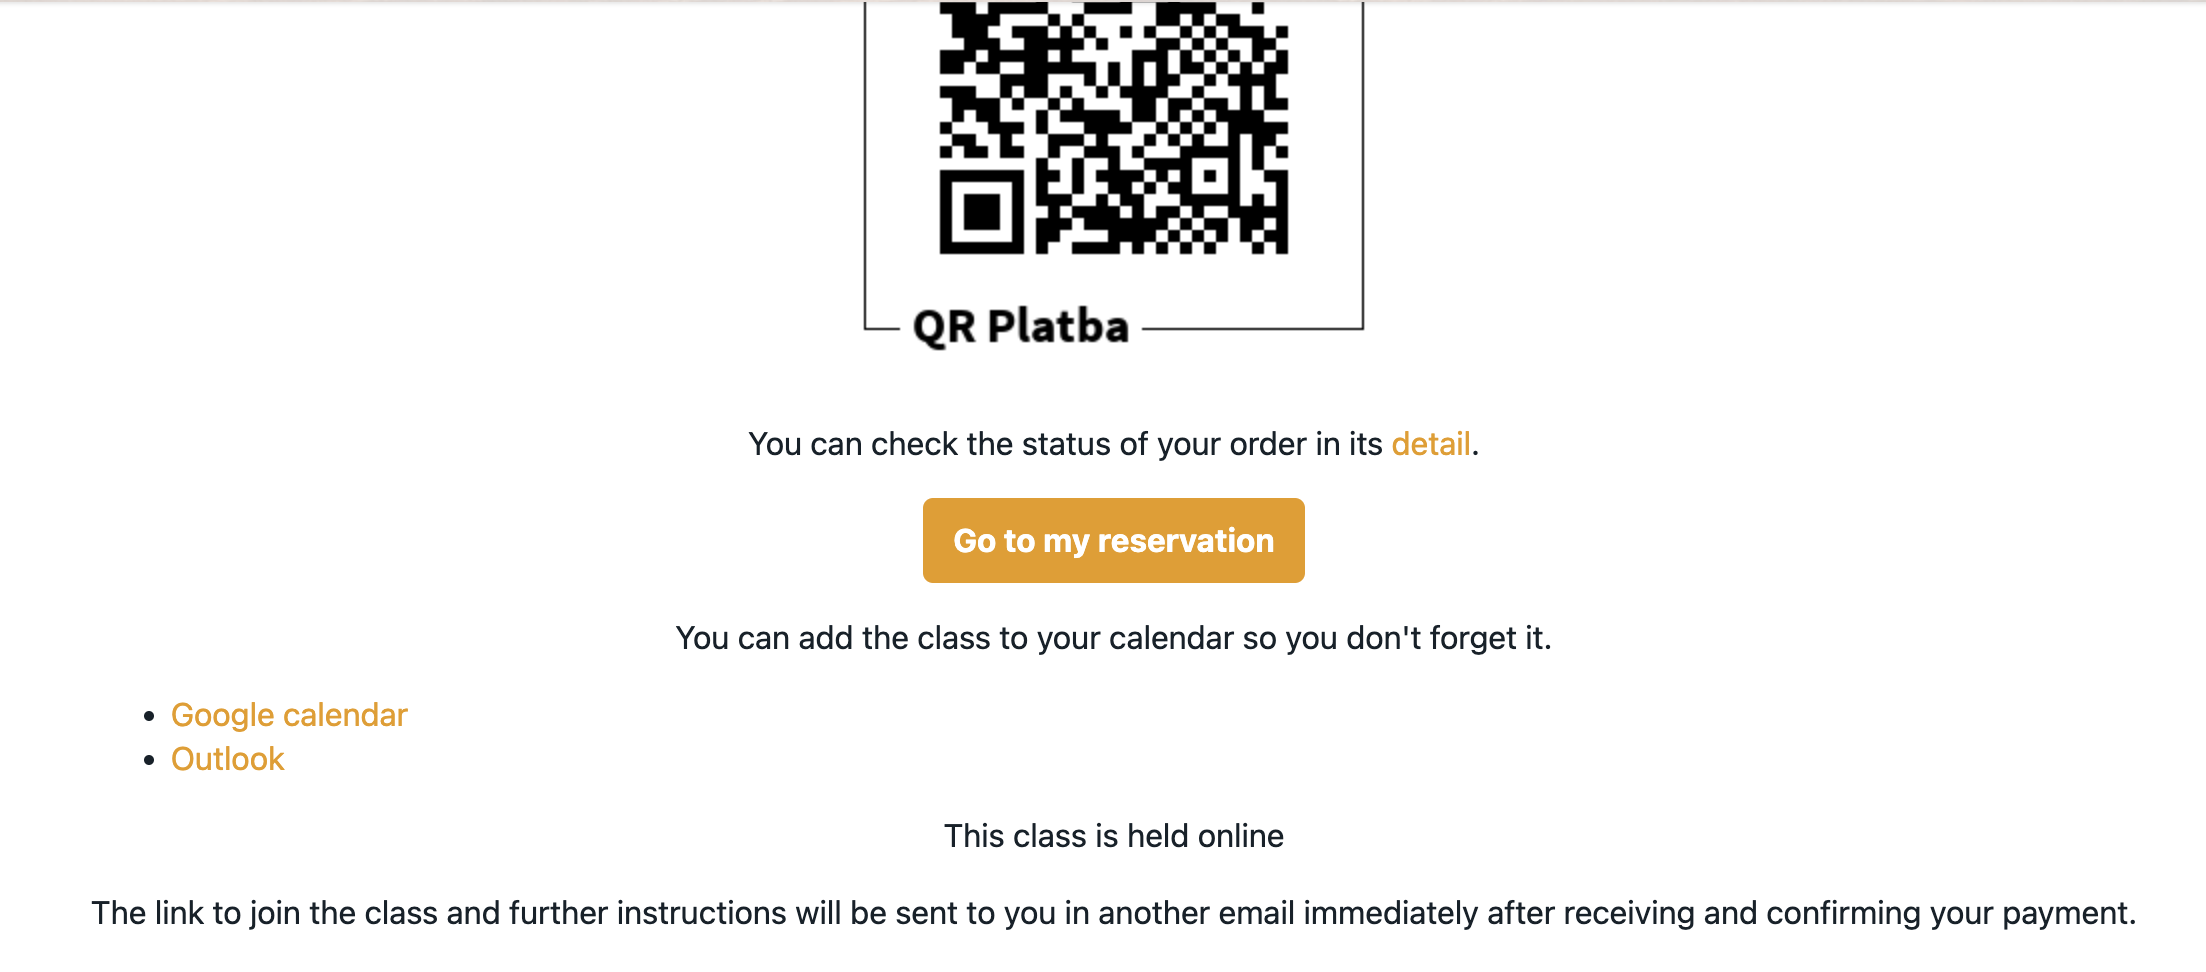
- If payment is pending (e.g., via bank transfer), participants will receive a confirmation email but won’t have access to the class link until payment is manually verified.
- Creating an Online Class without a Link:
- If you don’t have a link ready, you can leave the link field blank and publish the class. Participants will receive a confirmation email but will not see the link until you add it later.
Reminder: We will send you an automatic email if you forget to add the link, so you can update it in time.
With your online class set up, you’re all set to share your expertise with your clients, no matter where they are!