Setting Up Open Class Templates in Zenamu
Manually listing classes with the same title, description, or price each time can be tedious. Zenamu simplifies this process by allowing you to create templates for open classes. Once you’ve set up a template, you can generate similar classes with just a click.
How to Set Up a Template
-
Log in to Your Zenamu Account: Start by logging into your Zenamu account.
-
Access Settings: Click on the gear icon Settings, located at the bottom of the sidebar.

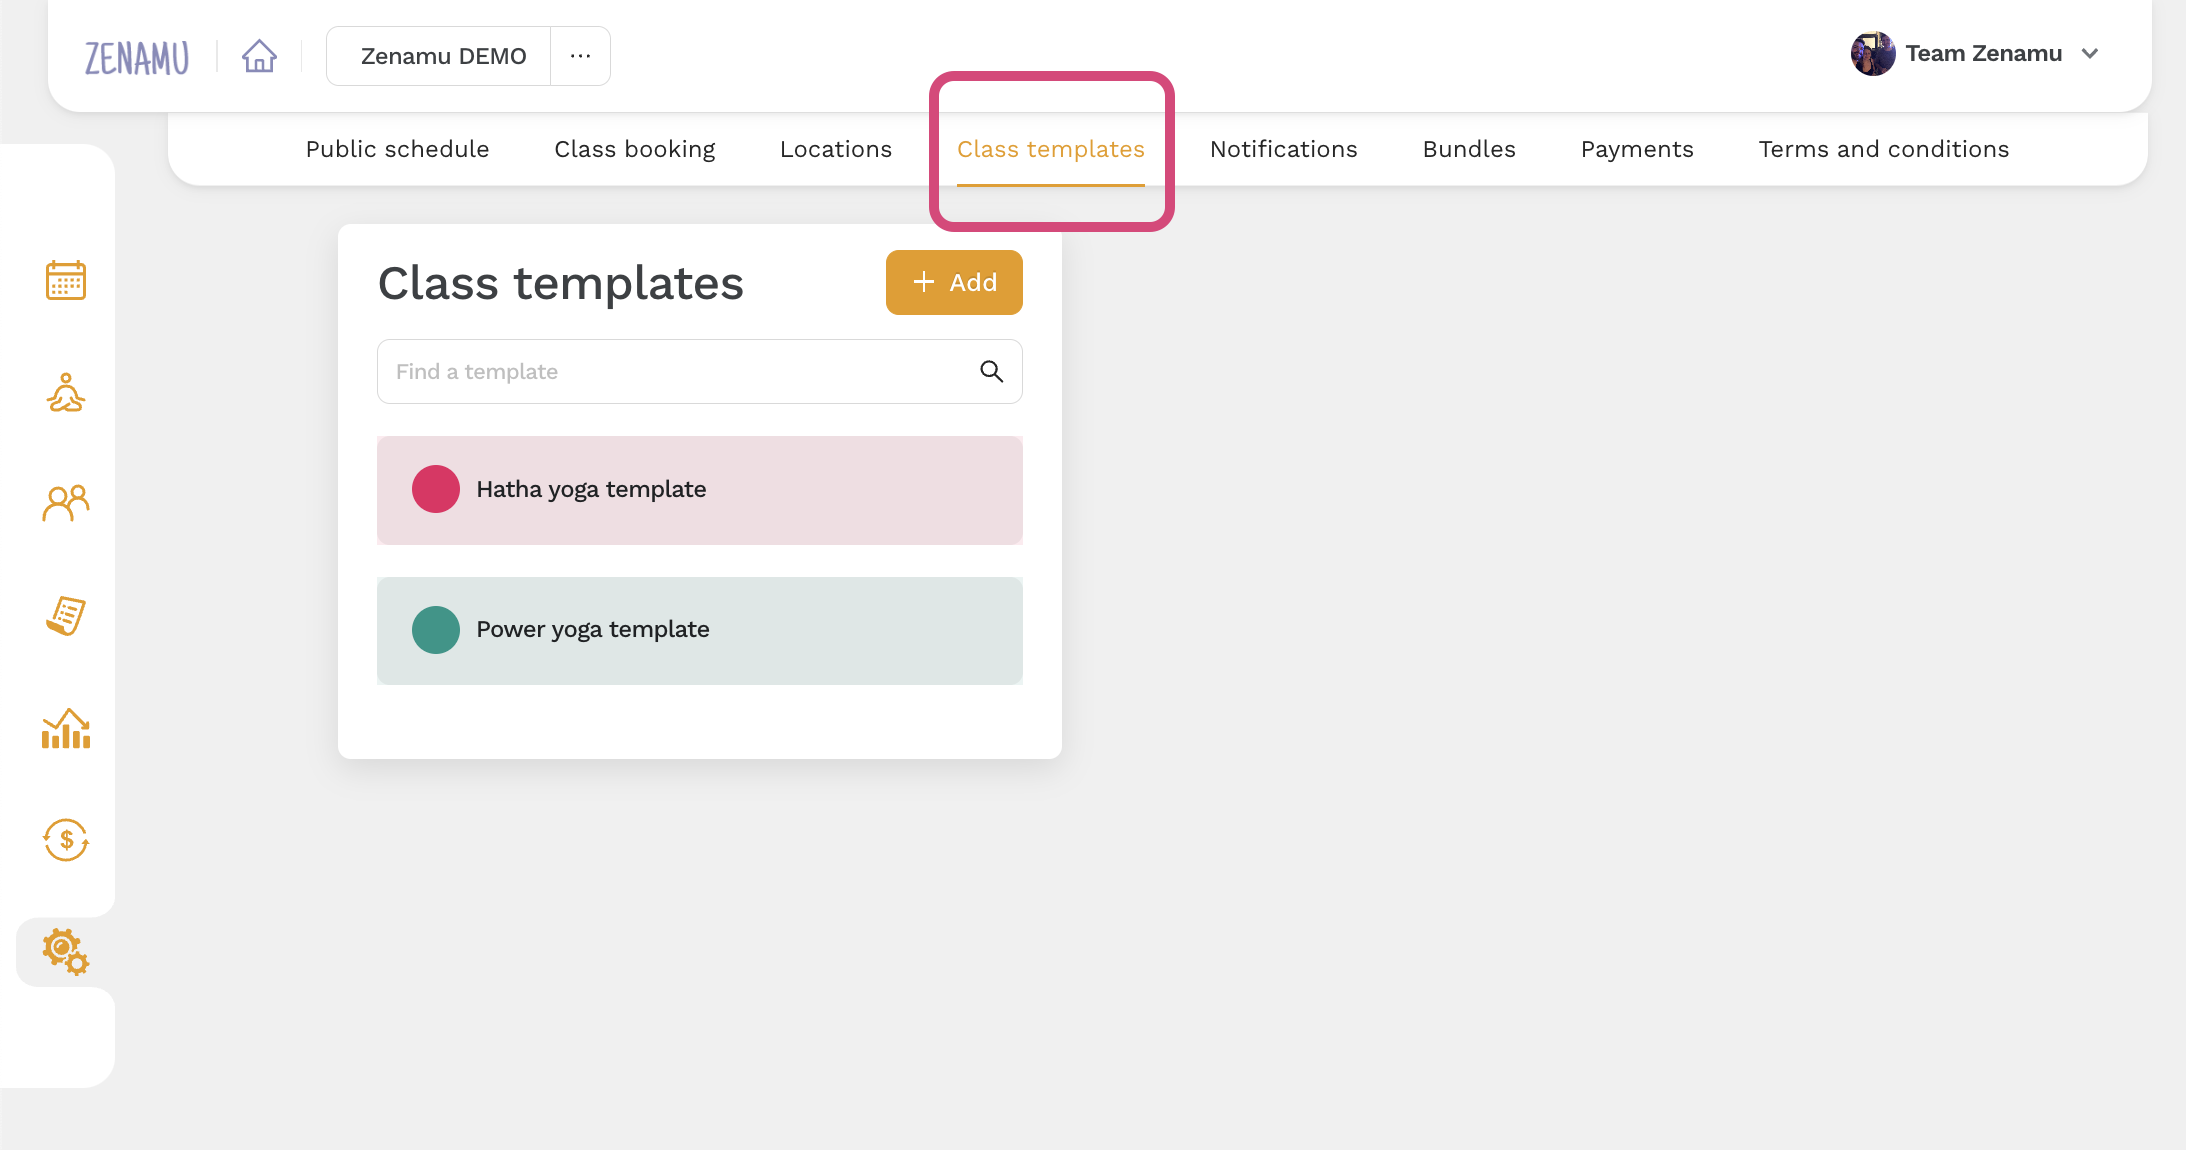
- Navigate to Class Templates: On the Settings page, you'll find options to modify your public schedule or create teaching locations. For class templates, click on Class Templates.
- Create a New Template: To create a new template, click on Add. A window will appear, similar to when creating a new class.
- Template Name: This is for your reference only and won’t be visible to clients.
- Class Details: Fill in the class title, description, format, capacity, and duration (in minutes). These details will be visible to your clients.
- Pricing: If you offer discounted prices for specific groups (e.g., seniors, students), add these by clicking on Other Pricing Options.
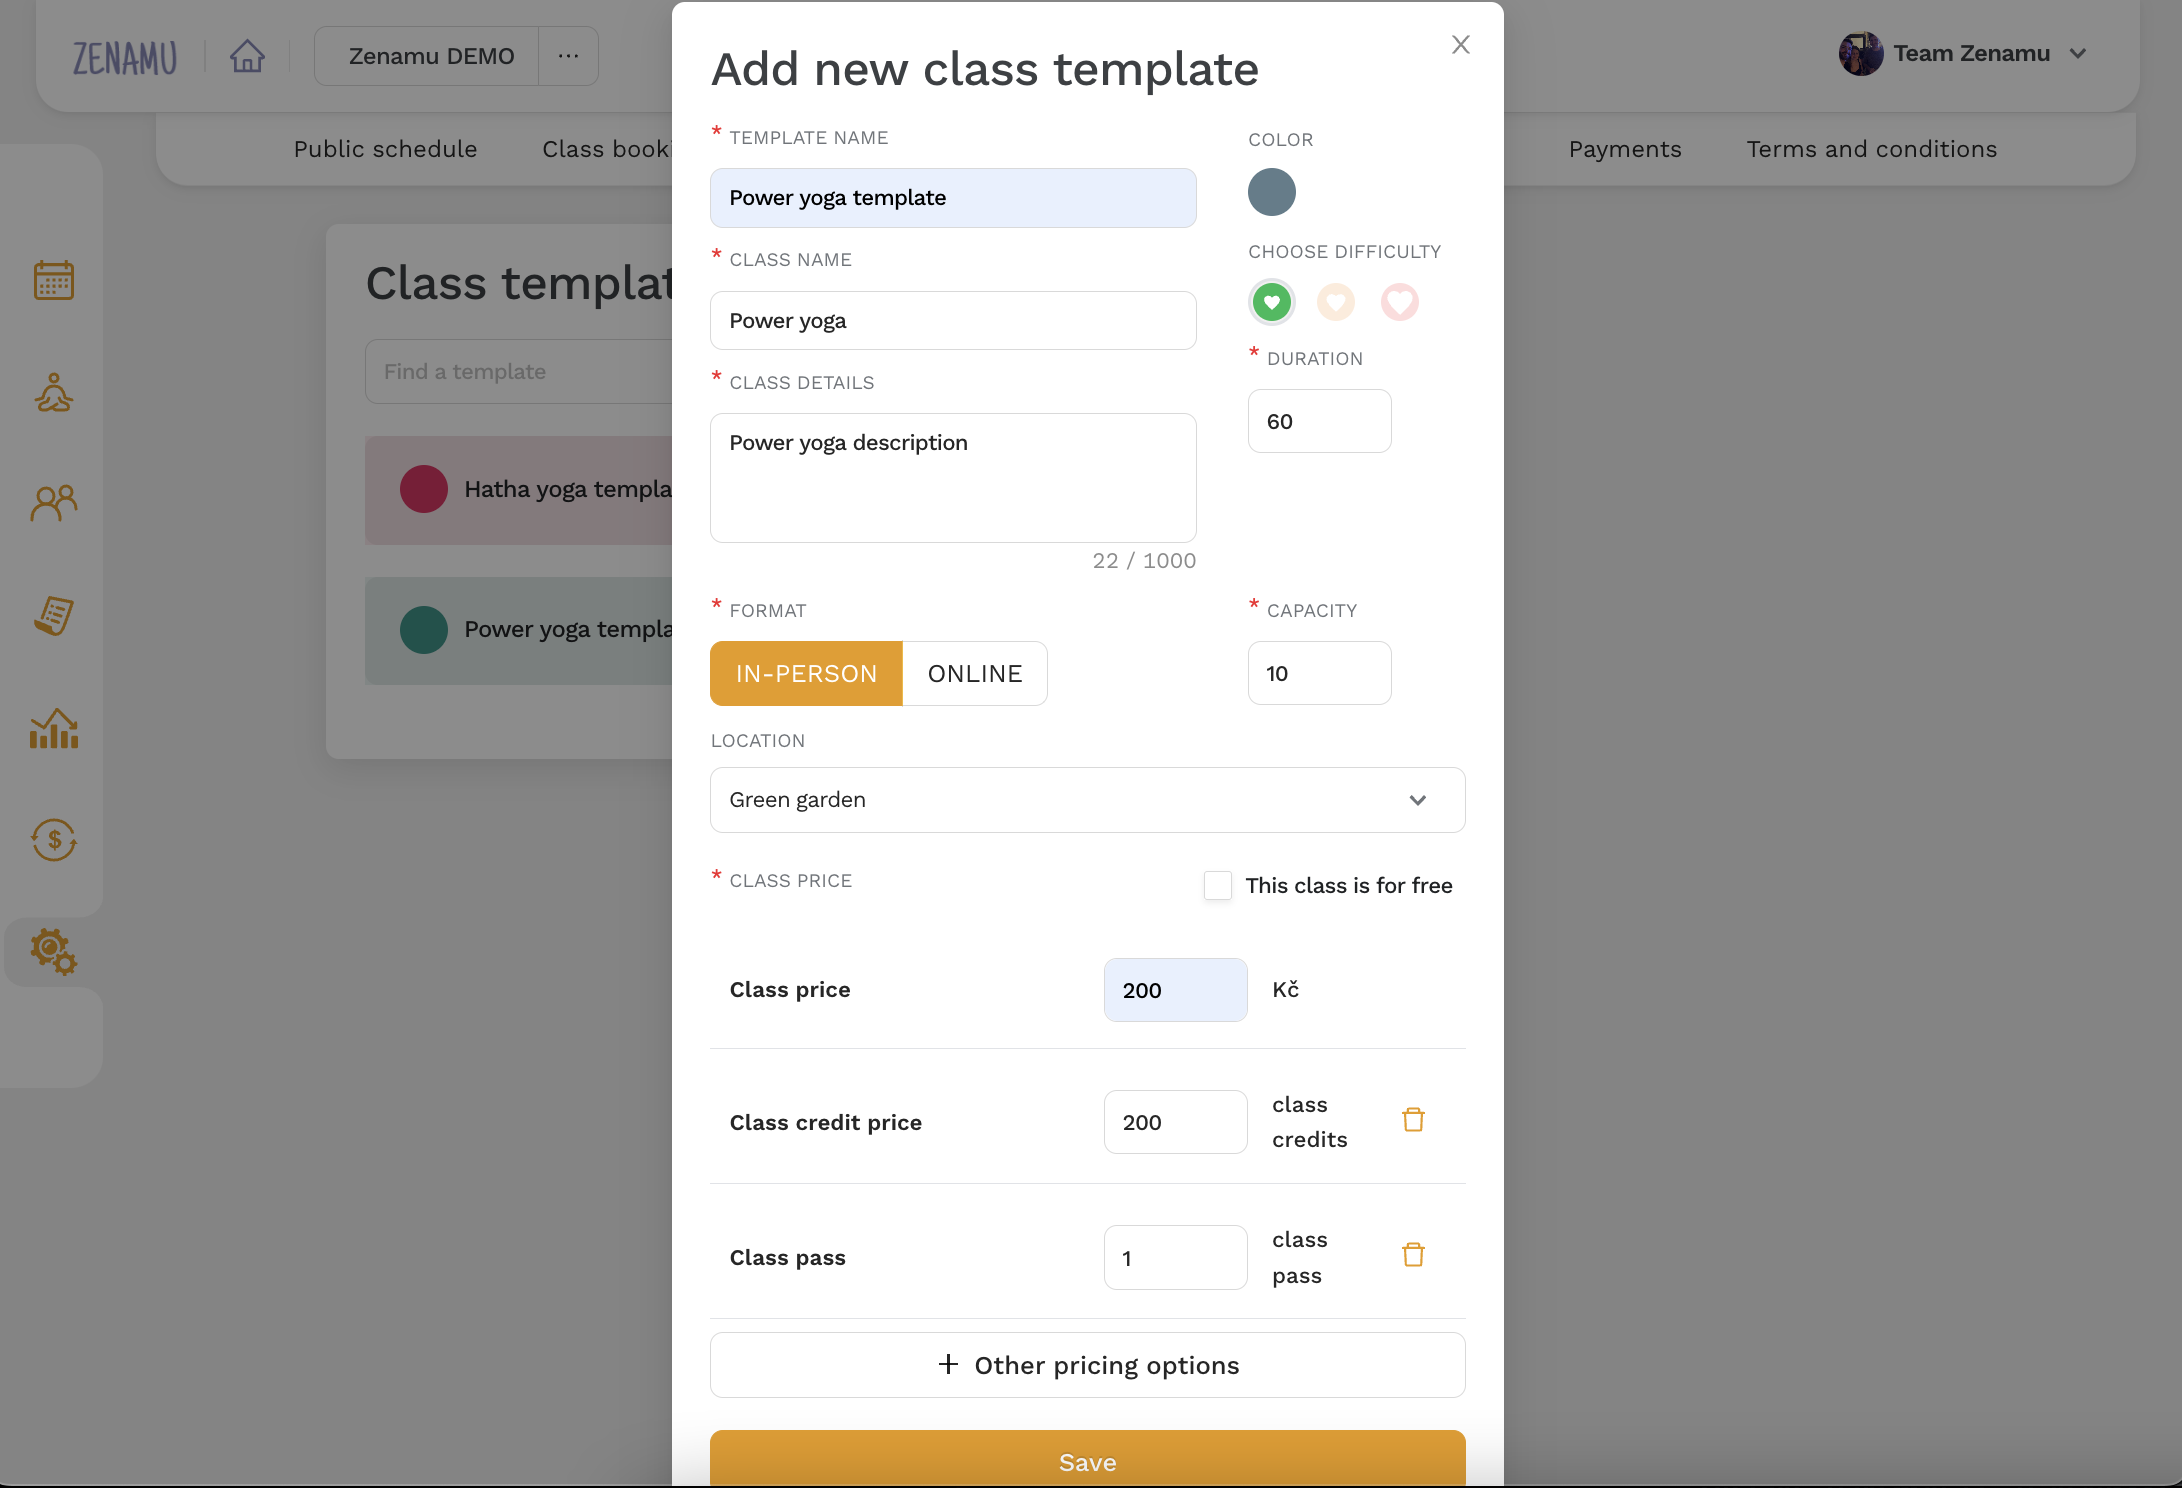
- Save the Template: Once you’ve completed the details, click Save. The template will now be available in the Class Templates section.
Using Your Template
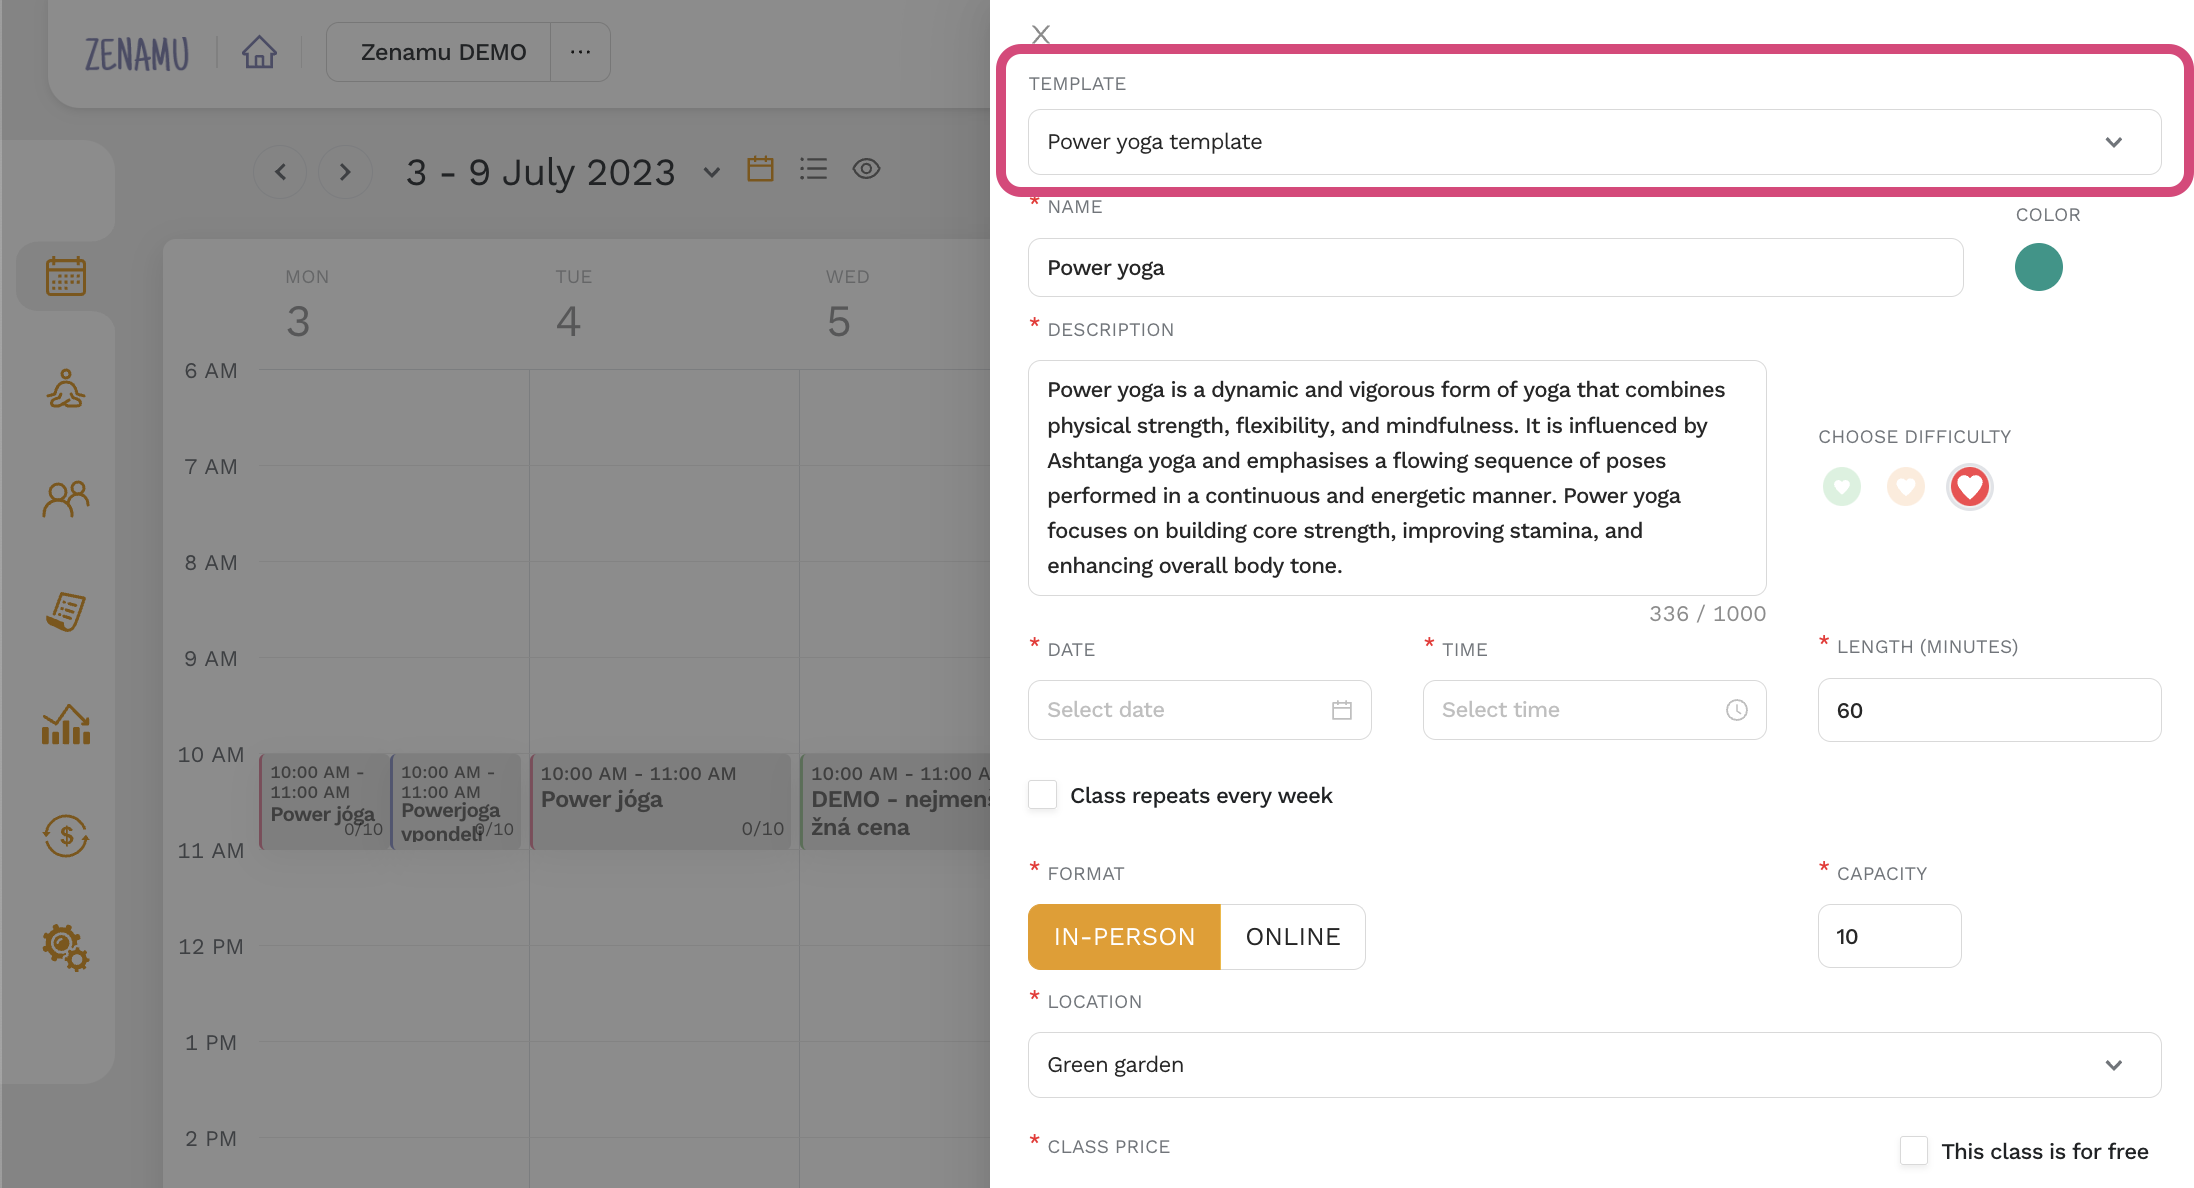
- Create a New Class: Go to the Calendar section (the first item on the sidebar) and click on Create new term > New open class.

- Select a Template: In the new window, the first item will be Template. Select the template you created. All relevant information will be pre-filled for you. You can keep this information as is or make adjustments before publishing.
You can create as many templates as you need, which will save you significant time when setting up new classes.
Feel free to create and manage multiple templates to streamline your scheduling process and ensure consistency across your classes.